
Friday, December 29, 2017
Starting on the Left Wing
Dec. 29 I'm starting on the left Wing. Most of the hardware work I completed while I worked on the right wing, such as trailing edges on the flap and aileron, and flap and aileron hinges. Today I drilled out the lightening holes on the gussets. 1 hour.

Monday, December 18, 2017
Fabric Choice
Chapter one; I have been very sure which covering process I was going to use from the beginning. When we finalized the purchase of Highlander 393, I had Just delete the covering. My only experience with aircraft covering was to take a Poly-Fiber workshop at Columbus State. It was a three day course. Further, Since Jim and Donde Miller, the Poly-Fiber East Coast distributers, owned one of my familie's old farms, and was only 15 miles away, the choice was obvious. Additionally one of the great vehicle painters in Columbus, Jerry Boggs, is one of my early aviation mentors, and exclusively uses Poly-Fiber. For years he painted Tru-Sports IRL Indy cars (Think Bobby Rayhal). BUT literally a week before I was to order, I got word that the Millers had sold their inventory. and was out of business.
Chapter Two; Lo and Behold the next week Stewarts Systems (SS) moved 7 miles north of me. Wow! I went up and talked to Andy Humphrey, the new owner, and was impressed. I called many of my aviation mechanic friends and found that they all avoided the process. Mainly because they had never used it and they thought (incorrectly) that SS was the old Blue River water born system. I also spoke to first time users of SS and they loved it. No previous bias. I also didn't want my son robby to be exposed to toxic solvents. I was set to use Stewarts. BUTTTT.
Chapter Three; I keep getting pulled off my Highlander Project! (insert angry face here) Life......
So to save 200 hundred hours build time, Oratex 6000 it is.
I've spoken to Joe and Lars. In the end, This cost of this process is a bit more, but "Time is Money".
Bruce
Chapter Two; Lo and Behold the next week Stewarts Systems (SS) moved 7 miles north of me. Wow! I went up and talked to Andy Humphrey, the new owner, and was impressed. I called many of my aviation mechanic friends and found that they all avoided the process. Mainly because they had never used it and they thought (incorrectly) that SS was the old Blue River water born system. I also spoke to first time users of SS and they loved it. No previous bias. I also didn't want my son robby to be exposed to toxic solvents. I was set to use Stewarts. BUTTTT.
Chapter Three; I keep getting pulled off my Highlander Project! (insert angry face here) Life......
- Boy Scouts: One of my true passions is to be involved with these young men. My Son, and his fellow scouts are involved in many adventures. As a former Fighter Pilot, I do everything I can to encourage them to seek a bright future, and teach them perseverance, and Leadership.
- Farm: When we "Bought the Farm" (not good in pilot lingo), we just intended to have a runway. But, as anyone knows, with out CAVU, taxes are exorbitant. We tried to lease the excess land, but the lease payments didn't cover the CAVU taxes. So I spent 6 years carving out a cattle operation with the newest fencing, hydrants/watering systems, winter heavy use pads, and pasture seeding. 2016, 24 head, ... Oh crap,..too many health issues. Sold the heard Spring 2017
- American Airlines; I was blessed to be selected as a member of the initial cadre of the 787 program. I was last of the 44 Check Airman (CKA) to be hired. Most of the early CKAs did the early product development for our clients (AAL pilots, transitioning to the 787). I was hired to be an operator. The kind of CKA that will take the student on his or her first flight in the 787. (with revenue passengers)! Many many days away from home.
- Health issues: My Wife had fibroids removed in April. Colon resection, 6.1 lb. fibroid removed. And Oh shit instant menopause!
- Cancer: In 2015 I was diagnosed with prostate cancer. 3 of 12 areas are a Gleason 6. I have a great friend in Jim Hartke (how was my F-16 training partner) who is a top geneticists. he suggested I take the Polaris genetic test. It showed I'll most likely die of something else first. A 3% chance I'd die from prostate cancer by my 80th birthday. Well, not good enough for me. 1 December 2017 I said enough; It comes out!
- Time: I'm running out of time. I don't have time for 3 coats of base, 3 coats of UV Blocker, 3 coats of white, and 3 coats of color, 5 coats of Clear, or what ever your process requires.
So to save 200 hundred hours build time, Oratex 6000 it is.
I've spoken to Joe and Lars. In the end, This cost of this process is a bit more, but "Time is Money".
Bruce
Heated Shop


After we finish the Left Wing in the basement this winter, my wife can again have here basement back!
Brakes, Wheels, and Bungies

UnPacking

Drilling


Running lines. I may change out the Left Master cylinders for a separate reservoir and parking brake.


Wait, HE missed a wrap. No, there is no use busting my knuckles here since I intend to use TK's nitrogen shocks. I installed these bungies just to move our Highlander out of the shop area before we enclose it.

My son Robby trying for a ground loop. Get that over with-now! ;-/
Control Mixer

I used a drill guide here as well

I do not intend to install interior carpet.
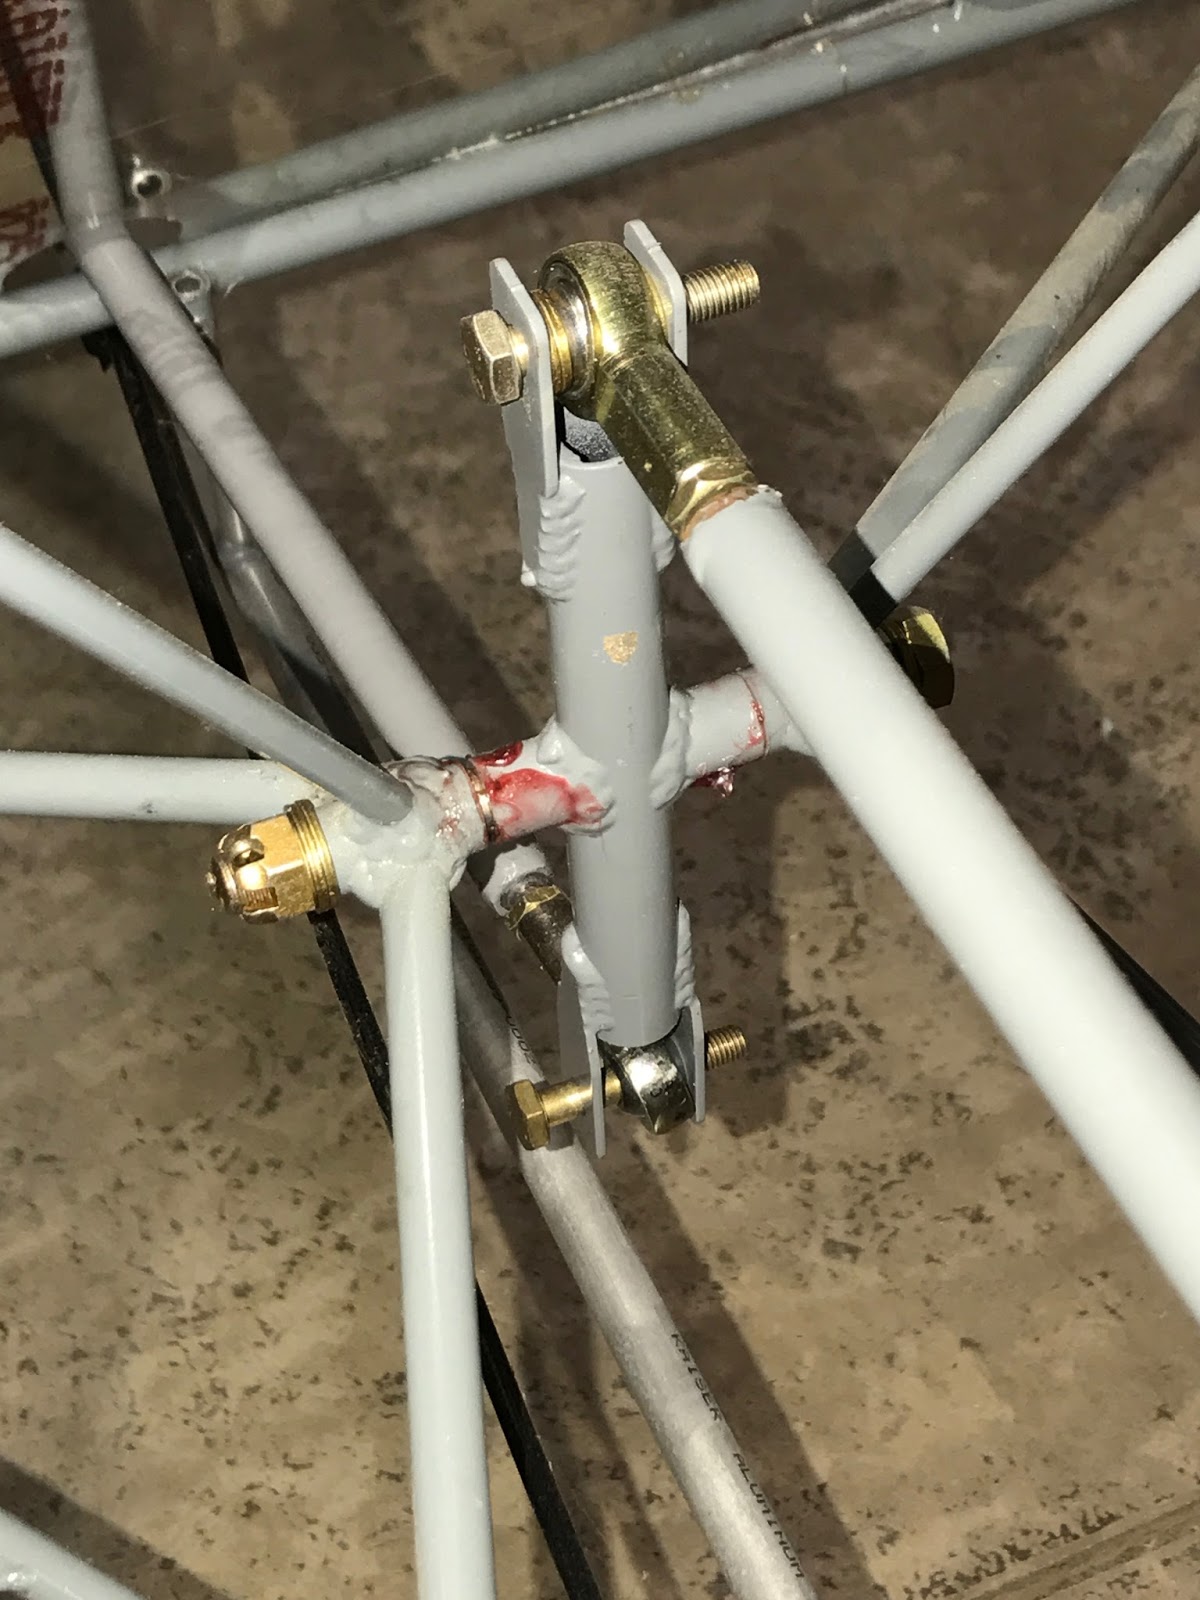
I rigged the elevator and the rod-ends throughout were almost bottomed out.

Tail Feathers

I went a little overboard with the rivet holes in the piano hinge. I'll correct by halving the number of rivets.

Boelube really assets drilling and limits the mess of other lubricants. I used this drill gig on most drilling that go thru more than one side or fixture.

Prior to drilling the actuator arm, clamp the leading edges together. This is not in the manual, but was discovered by most builders that this was the intention. Thanks "Wings Forum"!
Seats


GO BUCKS!

Flap Control
Back out in the Hangar for the Spring and summer of 2017. Our Hangar in about 150 years from the house. We have a 1450 foot turf Runway on our farm. With a 2/20 orientation. At NNE end are power lines and 700' beyond that is rapidly rising terrain. Runway 20 slopes downward from halfway point. The slope increases as to runs SSW. 500 ft. beyond the departure end are 75' trees. As a Husky owner and friend said to me after landing here, "Well, this runway will keep the riffraff out!" I have flown my J-3-85 Cub here for the last 15 years. BUT there are many days that we can not fly. This due to the runway being, for the most part, a one way in, the other way out, operation. Also there is a period of time that, if we suffered an engine failure in the Cub there is on option then to settle into the trees. For that reason I have moved the Cub to our local county airport KVTA. So, you can see this strip is perfectly suited for a Justaircraft Highlander. We can Takeoff and Land either direction!


The flap control worked well on the bench. However, once installed it is very sticky. So. more work is needed.
Summer 2016 back in the Hangar.

I welded a 5/16s reamer to a 4 foot X 1/4 in steel rod. and reamed out the Elevator and Rudder hinges.
ONLY to find out that in the "NEW" hinge arrangement, that they aren't supposed to be reamed!
Although Jac (Just factory floor manager) is VERY helpful when on the phone, for what ever reason, the manual he wrote, has not been corrected or updated.
I only found time to complete this one task that summer.
I only found time to complete this one task that summer.
Right Wing Sum up
As you can see, I'm playing catchup with this Blog. I originally used the Build Manual as my log. In the future I'll transfer the build notes to this Blog, hopefully as soon as I complete work.
The Right wing is nearly complete. "Super-Fill", sanding, and the nut plates for the wing tip are to be finished. Also Aileron and Flap pulleys and cable placement and routing need completed once the Wings are fitted to the fuselage. As of now, the Right wing is hanging out of the way to start the Left wing.
I went back to tally the total time spent in the right wing construction and I was shocked to find that I actually started the working on it 2 Feb 2016!!! not Jan 2017. I only did a little work (about 4 hours ) and then life got in the way. Knee surgery in March, Boy Scout camp in June, and playing catch up on our farm and of course at work (American Airlines 787 program Check Airman),
Total time so far on the Right Wing 58.5 Hours (of course not counting prep and cleanup)


Sunday, December 17, 2017
Fuselage stringer and floorboard work, summer 2017

Standoffs for bottom stringer

Clamping for drilling from the bottom

Cargo compartment boards located and drilled. They will split and nut plates added for easy access during inspection. Photo below.


Additional useful tools

Harbor Freight multi-tool used for cutting excess capstrip material

in conjunction with gasket material remover, this paint remover attachment for the angle grinder was excellent for removing power coating

Someone on the Wings forum listed this applicator. Very useful.

Used to cut Flap/Aileron hanger slots

Saturday, December 16, 2017
Wing PIX
The right wing was constructed per the Justaircraft manual, and as such I will only describe on this blog items and procedures that differ, or could be of benefit to other builders. All times per task are annotated in my manual. Having said that, I used many tricks that are described on the Wings forum. What a wealth of information on that site! They all play well there, and so far, no trolls.
Below is a typical temporary rig of hangers and hinges.


Below is a typical temporary rig of hangers and hinges.

Leading edge Hysol curing

Aircraft Tool Supply Threaded 90 degree drill bit attachment

Flexible hex-head drilling for cable runs

Thanks to Gary handle "GDS", I figured out that the "Short" sides of the attach flanges are together


Subscribe to:
Posts (Atom)
-
 My 15 year old, Robby drilling out all of the fabric rivet holes. My Oratex arrived, Missing an end, but all appears to be in orde...
 -
 Front Strut Bracket Hysoled and riveted in place. Leading Edge Hysoled in place as well. I took a 5/8s Forstner Drill bit to c...
 -
 Aircraft: JustAircraft Highlander #393 Modifications: Extreme Landing gear TK pneumatic Tailwheel ...